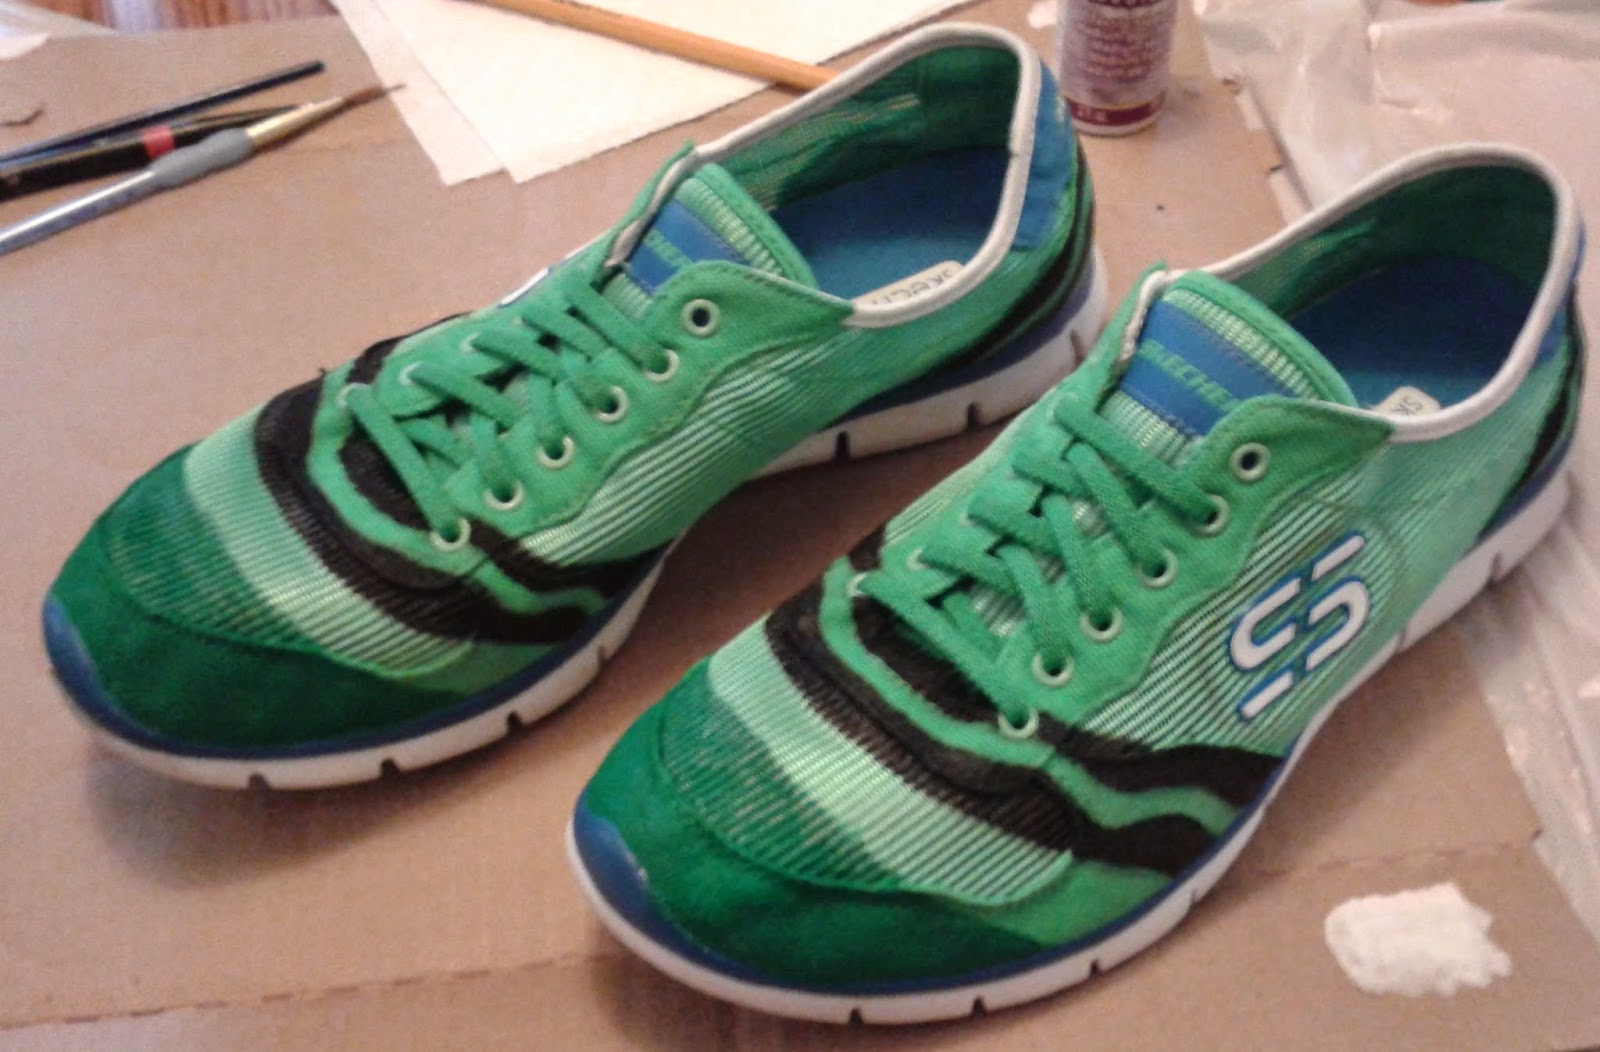
THE MISSION:
 |
| My Crayon Shoes |
Because comfort always comes first in my world, I used a pair of sneakers. I had so much fun re-designing them that I decided to show it as my very first DIY tutorial.
THE MATERIALS:
(these were rescued from
my ‘donate this eventually’ pile)
-Fabric Paint or Acrylic paint and Textile medium
Textile or fabric medium is available at any
craft store with the acrylic/craft paints.
If you use fabric paint you don’t need textile
medium, it’s already formulated for fabrics.
-Paint brushes (I never skimp when buying brushes, the quality really matters!)
-Water cup
-Newspaper
-Something to mix your paint on (paint palette, yogurt lid or wax paper will do)
THE PROCESS:
Sketch out the plan for
your shoe re-design. There are some
great sneaker templates online if you want to work on your idea but have
trouble drawing the shoe shape right (or if you are impatient like me). When you are ready, draw outlines of your design
with a pencil directly on the shoe.
Step 2: Prepare Your Workspace & Materials
Shoes:
If your shoes are not
new, make sure they are clean and fully dried.
If they are new, wipe them with a damp cloth to get rid of any dust or lint.
Workspace:
Cover a flat, stable
surface with newspaper or a plastic bag for easy clean up. I like to use masking or blue painters tape
to keep it from sliding around.
Materials Set-Up:
Have all of your
materials within reach. Fill your water
cup about halfway because if you’re anything like me you’d rather clean up half
a cup of water than a whole one when you knock it over!
 Tip: If you’re mixing
acrylic paint with textile medium make sure to read the directions first. Brands vary in formulation,
so using the correct ratio is important.
Step 3: Get Working: Tips For Better Results
Stabilize the fabric of the shoe with your non-dominant hand to
make painting the flexible surface easier!
Two or
three smooth, thin coats of paint look better and last longer
than one thick coat.
 Use
smaller brushes when painting in smaller areas of your pattern. I kept several different sizes and shapes
(rounded, flat, angled, tiny detail, etc.) close by and switched between them
when I needed a better tool to get the job done right.
When you
make a mistake, go with it. There’s
nothing you can do and the paint should be permanent if you prepared it
correctly, so what’s the point in getting frustrated and giving up?
 I rolled
with my ‘oops’ when the first part that I painted ended up being a section
of the design that was supposed to stay blank.
I changed the angle of the stripe and was happy that I
hadn’t drawn on the shoe in marker!
 If
you don’t like it, change it! When I
was initially finished I wasn’t happy with the end result. After complaining internally and making what
I’m sure were some ridiculous faces, I came to the conclusion that my work was
not yet complete. I took another look at
my inspiration (see above) and at an actual crayon before running upstairs for
more paint. I had included the wrapper
in my design, but in my excitement I completely forgot about the crayon itself!
For me, the darker green toes made the
shoe re-design complete.
When was the last
time you followed the urge to binge-create?


No comments:
Post a Comment