Showing posts with label PSSA. Show all posts

Monday, March 30, 2020

Treasure Maps: Pirate Fun For All!

by Elizabeth Van Allen for scribblesbyartteachervanallen.blogspot.com
*first posted in 2016, this lesson has been updated for grades 2-3 e-learning in 2020, but can be used & modified for any and all grade levels
This exceptional project from a first grader used multiple points of view!
What's mysterious, full of intrigue, and lots of fun to both make and use?  A Treasure Map, of course!  Maps have been used for thousands of years around the world in all different cultures as a tool to help communicate location from one person to another without having to speak directly to them.  During our standardized testing window one year I decided to create a project that could be modified to be appropriate for all ages.  All you need to do is keep it simple for younger artists & add more challenging details for older ones.  In 2020 I realized that it was also a perfect project for all of my safer-at-home E-Learners! This treasure map project can be made as simple or complicated as you want, and can be tied in with geography/social studies, math, language arts, and/or science.  It can be made in any language and with any materials available, with lots of mess or an easy clean-up.  The treasure map is an easy way to build student buy-in in the classroom or involve & excite kids (and adults) at home. 
Rampello K-8's Spirit Week Map

Materials:
  • Practice paper
  • Pencil & Eraser
  • Paper for the map (white, manilla, brown paper bag, tea-stained, textured, any type and size you want to use!)
  • Drawing media that shows up well against your background paper (markers, paints, oil pastels, crayons, construction paper crayons, etc.)
    A little sparkle or shine goes a long 
    way!  We used dried markers to 
    apply tiny metallic tempera details. 

  • Optional: metallic paint, glitter glue, sequins, ribbon or yarn, magazines for collaging, really anything you have laying around the house.  Get creative & crafty, or at least give them the opportunity to do so! 
This second grader
included a map key!

Good To Have On Hand: 
(Resources & Preventative Measures)
  • Compass Rose
  • Map- any type will do, just check your car's glove box!  This comes in handy as a real-life example of how a compass rose, map key, and areal view can be used.  This is also a great tie-in with geography and giving & writing directions.
  • Old fashioned map examples with sea creatures and symbols. (find online)
  • Smock/apron and wipes or damp paper towels (if using paint or glue)
  • Newspaper or large plastic place mats (for easy clean-up)
One of my favorite "hazard" details from a very creative first grader
Process/Directions:
Third grade compass rose
  1. If you are tea-staining or aging your paper in any way, do this first and practice drawing any details you want to include while the paper dries.
  2. Decide on a size and shape for your paper.  Are the edges torn or cut?  Will it be rolled into a scroll or folded?
  3. Draw a compass rose near one of the corners (good opportunity for a geography cross curricular tie-in)
  4. Draw an island, archipelago, peninsula, or shoreline- basically you want part of your map to be land and part should be water.
  5. X marks the spot!  Experiment with different ways to show your X: wooden planks, swords, palm trees, old-timey lettering etc. 
    I am still amazed that a
    first grader drew this!
  6. Place your ship off the coast.  It can be anything from a dinghy to a multi-masted tall ship.  Don't feel limited to drawing, you can cut and paste from a printout or collage together a boat if you're so inclined!   
  7. Represent different geographical landmarks through drawing or collage (trees, caves, quicksand, cliffs, rocks, mountains, volcanoes, rivers, waterfalls, ponds, swamps, etc.)
  8. Draw a dotted line from your docking point to the X, winding it through and around the geography of your island.
  9. Show the water on the map through different types of waves.
    A great example from a fifth grade
    artist showing waves just off-shore.
     One good way to show water is through a set of layered dashed lines clinging tightly to the shoreline.  Start them small and tight near the shore, then loosen and lengthen them a few layers out.
  10. Add in some details like sea monsters, canons on deck, flags, treasure chests etc. 
 SUNSHINE STATE STANDARDS
VA.2.C.2.1- Use appropriate decision-making skills to meet intended artistic objectives.
VA.2.S.1.1- Experiment with tools and techniques as part of art-making processes.
VA.2.S.3.2- Demonstrate growth in craftsmanship through purposeful practice.
VA.2.H.2.1- Identify differences or similarities in artworks across time and culture.
VA.2.F.1.1- Use imagination to create unique artwork incorporating personal ideas and selected media.

This fourth grader really got into the details on her map!

The Big Orange Splot

by Elizabeth Van Allen for 
scribblesbyartteachervanallen.blogspot.com
* for grade 1 e-learning 

I love this wonderful children's book!  This lesson is designed for elementary students, but I have even seen the book used with high schoolers as a very accessible way to teach about conforming and individualism.


The Big Orange Splot
book by Daniel Manus Pinkwater
OBJECTIVES:
 I will create an original house and yard that reflect me and my dreams, a place that I would love to live.
So that I can explore my likes and dislikes, experiment with drawing objects by starting with shapes, and play with drawing different types of plants and environments.
I will know I have it right when I have created a finished, creatively imagined house that includes a wonderful and imaginative yard that fills my whole drawing surface!

REQUIREMENTS:
 Students will:
1. Listen to / watch the story “the big orange splot” by Daniel Manus Pinkwater
2. Brainstorm­­­­­­
3. Draw a creative house that you love
4. Include an imaginative yard or environment that makes you happy
5. Complete the project in a timely manner
6. Share a picture with the teacher through EDSBY

MATERIALS:
 ·  paper
·  pencil or pen
·  any other art supplies you may have access to – if you have nothing else, get creative!
Collage together (clean) food wrappers in different colors to create images.  Use the back of cardboard packaging (cereal boxes etc.) as paper if you have none.
*If you don’t want to draw and you have the materials, you can build your house and yard!  You could use, cardboard, legos, construction paper, cereal boxes, anything you have permission to use!

DIRECTIONS
1. Listen to / watch / read the story “The Big Orange Splot” by Daniel Manus Pinkwater either through the link provided or on youtube  https://www.youtube.com/watch?v=YoYiyEo07tM
2. Questions to think about after reading the book:
a)    Why do you think that Mr. Plumbean changed his house the way that he did?
b)    Why do you think Mr. Plumbean’s neighbors didn’t like the changes he made to his house?
c)    What do you think Mr. Plumbean said to his neighbors that made them change their minds?
d)    If you lived in Mr. Plumbean’s neighborhood, what would you do to your house to make it show who you are?
3. Brainstorm­­­­­­ ideas you could use to design your house, and get creative.  Do you like fashion? Include a runway!  Do you enjoy animals?  Consider using animal prints or making the house into the shape of your favorite animal!  The possibilities are endless!
4. Draw a creative house that you love.  It doesn’t have to me in color if you don’t have it available, you can draw it in just pencil or pen, or whatever you have available.  If you want you can even build a model of it using cardboard, legos, or anything else you have permission to use!
5. Include an imaginative yard or environment that makes you happy.
6. Clean up your working area
7. Take a picture or scan it
8. Share the picture with your art teacher through EDSBY!

TIME BUDGET:
  1-2 classes

SUNSHINE STATE STANDARDS
VA.1.H.3.1: Identify connections between visual art and other content areas.

Thursday, March 26, 2015

How To Survive The Wilderness Of Standardized Testing

by Elizabeth Van Allen 
scribblesbyartteachervanallen.blogspot.com

Many students struggle their way through the standardized testing wilderness and are often in need of a trail guide.  Here's a little inside info: we teachers know that testing can be more than just a walk in the park.  It's quite a challenge to stay neutrally supportive while maintaining constant vigilance in an often hot and always stuffy room.  Over the years, I've come up with some resourceful ways to get myself and my students out of the standardized woods and back to the civilization of differentiated instruction.   

First I'd like to give the uninitiated a brief overview, setting the scene for our adventure.  There are quite a few rules and regulations that every teacher must abide by with the focus and resolve of a veteran sherpa on Mt. Everest. 
  1. We should not ever sit down while proctoring or administering a standardized test.  
  2. We must stick to the script at all times and can not deviate from pre-determined supportive statements when encouraging students to keep doing their best.  
  3. We oversee full-sized classes of restless students (more if testing is held in the gym or auditorium) who are not allowed to talk, look around, or get up to stretch.  
  4. All beloved cell phones (you know, the ones that aren't technically allowed in the building to begin with) must be turned in for the duration of the test.  If a contraband cellphone were to go off on their person or in a school bag during the test they must forfeit all of the work they have completed due to the possibility of cheating and re-start their entire testing journey.  
All of these restrictions make it difficult for everyone involved to stay civil, and last year an additional challenge was thrown into the mix.  Brace yourselves, there's bad weather ahead...

Students in my state are no longer allowed to draw, doodle or color after finishing their standardized test.  Yes, you read that last sentence correctly.  After that announcement I, the art teacher, felt morally obligated to at the very least attempt to ascertain the logic behind this decision. According to the state, coloring is more fun than testing.  (Ok, you can't argue with that.  Go on...)  Therefore, seeing others enjoy coloring and knowing that it's an option after finishing a test could be an unintentional incentive for students to rush through it without doing their best work.  Although they have a good point, this is one of those situations that makes testing survival just a little more challenging. 

Disclaimer: This next section is full of teachery-type language and is way too long.  I included an appropriate comic strip to make it slightly more amusing.  
Hang in there and I promise I'll get right back to the good stuff!
I absolutely understand the value of well researched, developed and tested -pun not originally intended- standardized tests.  Tests that are developed by independent, non-profit companies that are solely comprised of experts who have spent years teaching in schools of different economic and ethnic compositions from varied regions of the country.  It makes sense to standardize a test or two in order to make a fair and even summative assessment of student learning across the country based on a nationwide core curriculum.  

This core curriculum would of course be developed by a different independent non-profit with the same set of regulations governing the qualifications of it's employees.


And wouldn't it make sense for the application of a fair assessment to be given in a differentiated fashion based on different learning styles?  Perhaps it could even include provisions for real-life testing conditions.  Remember, not every school is secluded or buffered by trees and fields.  There are plenty of other factors to consider, like noise from the city traffic just outside the building.  But I digress.  

Okay, now let's get back to our survival guide.  There are many ways to make the standardized testing trek a more pleasant experience for both teachers and students.  Not every test has to be an exercise in endurance.  I'd like to share a few tips and tricks that I've developed in the past few years that make this long journey a little more comfortable for all while keeping protocol safely intact.  

Here's my survival checklist, never brave the standardized wilderness without it!

1. Make a standardized testing survival kit.  
The items contained will vary depending on teacher and student needs.  This kit should be contained in something that is lightweight and easy to access since you'll be carrying it around the forest -er- building, up and down staircases, and traversing narrow aisles in rooms where testing is taking place.  The one shown below is my version of a survival rucksack.  It's a server-style half apron with two zippered canvas pencil cases sewn to the front.  The extra pencil cases provide additional storage for loose items like erasers and cough drops that might otherwise spill out when you bend down to pick up a student's escaped pencil for them.
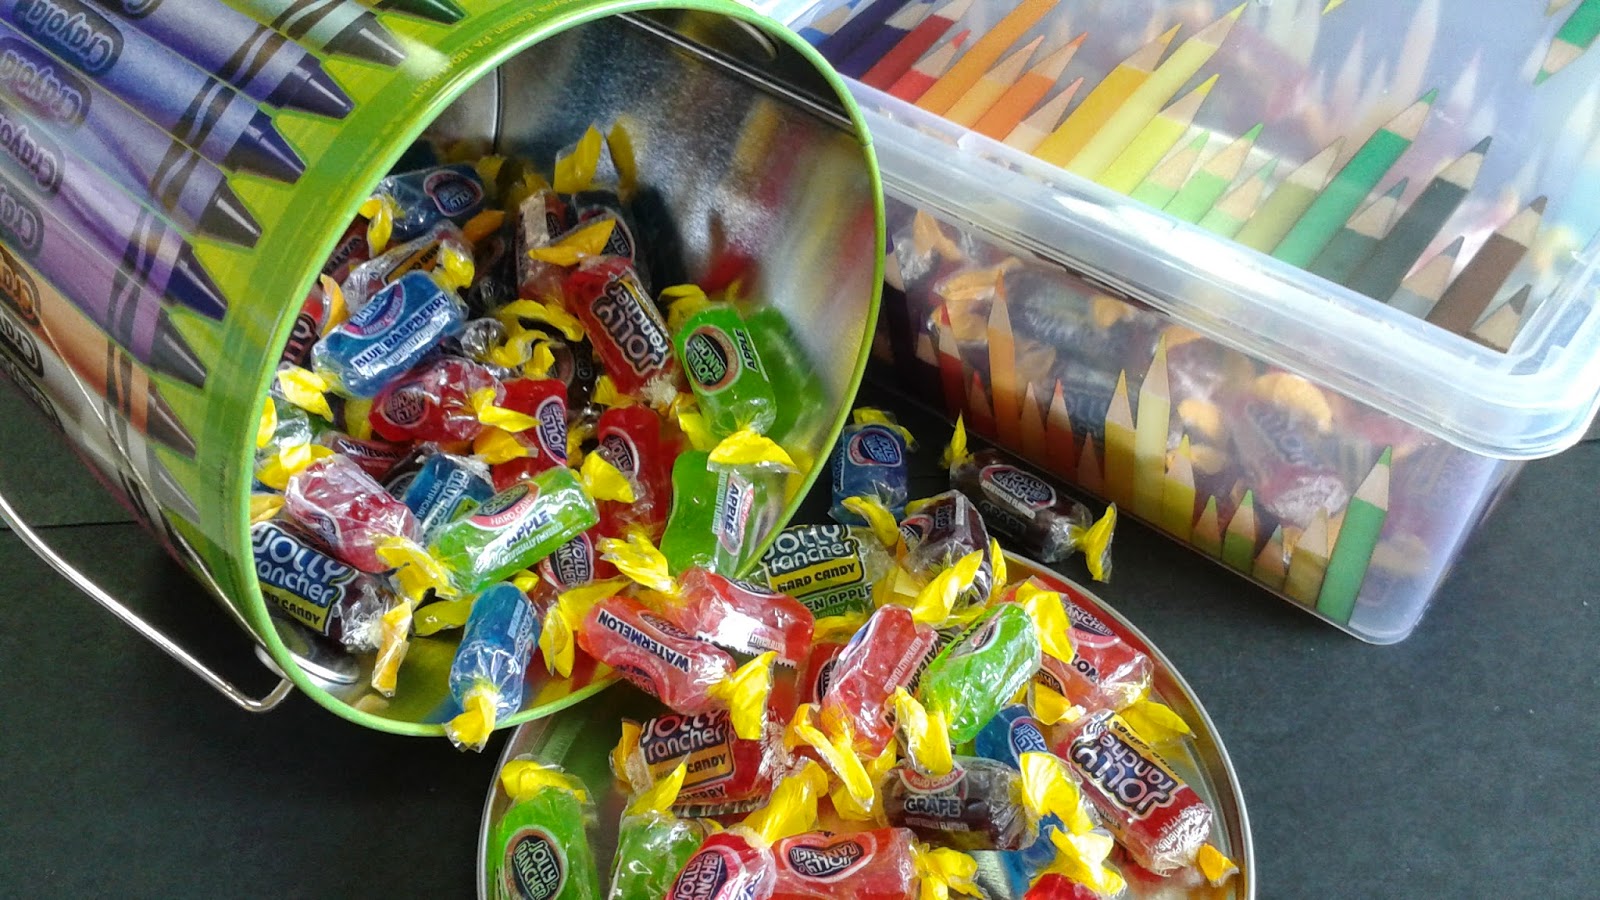
2. Bring some candy to calm, appease, or keep awake the unhappy masses.  The most obvious reason for this being that it shows the children you care about them.  At the very least, they now know that you empathize with their situation and are trying to help make the best of it.  Jolly ranchers seem to be the most popular trail ration in my region.  Keep the candy in a brightly colored tin or plastic box to make it a little more fun. This also makes your tasty treats a little less accessible to any non-human standardized wilderness dwellers (aka small rodents and other creepy crawlies) that might want to partake.  


If you have a large Muslim or Jewish population, be mindful of their dietary restrictions and find out what treats are halal and/or kosher.  As always, be aware of allergy restrictions and make sure that your chosen treat is ok.  If you don't know, don't be afraid to ask the kids or their parents.  Most are more than willing to help you find something appropriate, especially since you are being sensitive to their child's special needs.  Sometimes it is a challenge to find acceptable wild edibles, but trust me- they're out there.  I also tend to keep a few sugar-free treats for diabetic students.  You never know what you need to account for, so be sure to check in with your school nurse.

3. If your state/district/school allows it, spend a little extra time to prepare multiple folders of assorted coloring sheets and individualized crayon boxes or bins.


Why multiple folders?  Two reasons: 1. you don't want to  have to run back and forth in a testing room and 2. it limits student temptation to talk/whisper/communicate to each other while passing the folder around.  

Why crayons?  They don't dry out or need to be sharpened.  Using crayons prevents excess noise, mess, and/or movement issues during testing.  I purchased this wonderful, super portable tower-o-crayons from a big box store a few years back.  The drawers snap into place when you put them back in and all of the plastic is super sturdy!  Thirteen drawers of crayons and one no-spill, removable crayon sharpener that can be converted into a fourteenth crayon drawer if desired.  If you can't find something similar to this, small food storage containers or snack-sized resealable bags work well too.  This could prove to be an invaluable wilderness companion.

There you have it, my comprehensive standardized wilderness survival guide.  I hope some of these ideas will help to make the trek an easy one for you and your students.  Remember: not every survival situation has a perfect solution, but I've found that this basic survival kit is a good starting point and will help get you out of the wilderness relatively unscathed.  You never know, you may become your school's Bear Grylls, or better yet Lewis and Clark!

What have you seen (or done) during testing that made a 
positive impact on someone 
else's experience that day?

Please share in the comments below!