by Elizabeth Van Allen
scribblesbyartteachervanallen.blogspot.com
by Elizabeth Van Allen
scribblesbyartteachervanallen.blogspot.com
Many students struggle their way through the standardized testing wilderness and are often in need of a trail guide. Here's a little inside info: we teachers know that testing can be more than just a walk in the park. It's quite a challenge to stay neutrally supportive while maintaining constant vigilance in an often hot and always stuffy room. Over the years, I've come up with some resourceful ways to get myself and my students out of the standardized woods and back to the civilization of differentiated instruction.
First I'd like to give the uninitiated a brief overview, setting the scene for our adventure. There are quite a few rules and regulations that every teacher must abide by with the focus and resolve of a veteran sherpa on Mt. Everest.
- We should not ever sit down while proctoring or administering a standardized test.
- We must stick to the script at all times and can not deviate from pre-determined supportive statements when encouraging students to keep doing their best.
- We oversee full-sized classes of restless students (more if testing is held in the gym or auditorium) who are not allowed to talk, look around, or get up to stretch.
- All beloved cell phones (you know, the ones that aren't technically allowed in the building to begin with) must be turned in for the duration of the test. If a contraband cellphone were to go off on their person or in a school bag during the test they must forfeit all of the work they have completed due to the possibility of cheating and re-start their entire testing journey.
All of these restrictions make it difficult for everyone involved to stay civil, and last year an additional challenge was thrown into the mix. Brace yourselves, there's bad weather ahead...
 Students in my state are no longer allowed to draw, doodle or color after finishing their standardized test. Yes, you read that last sentence correctly. After that announcement I, the art teacher, felt morally obligated to at the very least attempt to ascertain the logic behind this decision. According to the state, coloring is more fun than testing. (Ok, you can't argue with that. Go on...) Therefore, seeing others enjoy coloring and knowing that it's an option after finishing a test could be an unintentional incentive for students to rush through it without doing their best work. Although they have a good point, this is one of those situations that makes testing survival just a little more challenging.
Disclaimer: This next section is full of teachery-type language and is way too long. I included an appropriate comic strip to make it slightly more amusing.
Hang in there and I promise I'll get right back to the good stuff!
I absolutely understand the value of well researched, developed and tested -pun not originally intended- standardized tests. Tests that are developed by independent, non-profit companies that are solely comprised of experts who have spent years teaching in schools of different economic and ethnic compositions from varied regions of the country. It makes sense to standardize a test or two in order to make a fair and even summative assessment of student learning across the country based on a nationwide core curriculum.
 This core curriculum would of course be developed by a different independent non-profit with the same set of regulations governing the qualifications of it's employees.
And wouldn't it make sense for the application of a fair assessment to be given in a differentiated fashion based on different learning styles? Perhaps it could even include provisions for real-life testing conditions. Remember, not every school is secluded or buffered by trees and fields. There are plenty of other factors to consider, like noise from the city traffic just outside the building. But I digress.
Okay, now let's get back to our survival guide. There are many ways to make the standardized testing trek a more pleasant experience for both teachers and students. Not every test has to be an exercise in endurance. I'd like to share a few tips and tricks that I've developed in the past few years that make this long journey a little more comfortable for all while keeping protocol safely intact.
Here's my survival checklist, never brave the standardized wilderness without it!
1. Make a standardized testing survival kit.
The items contained will vary depending on teacher and student needs. This kit should be contained in something that is lightweight and easy to access since you'll be carrying it around the forest -er- building, up and down staircases, and traversing narrow aisles in rooms where testing is taking place. The one shown below is my version of a survival rucksack. It's a server-style half apron with two zippered canvas pencil cases sewn to the front. The extra pencil cases provide additional storage for loose items like erasers and cough drops that might otherwise spill out when you bend down to pick up a student's escaped pencil for them.
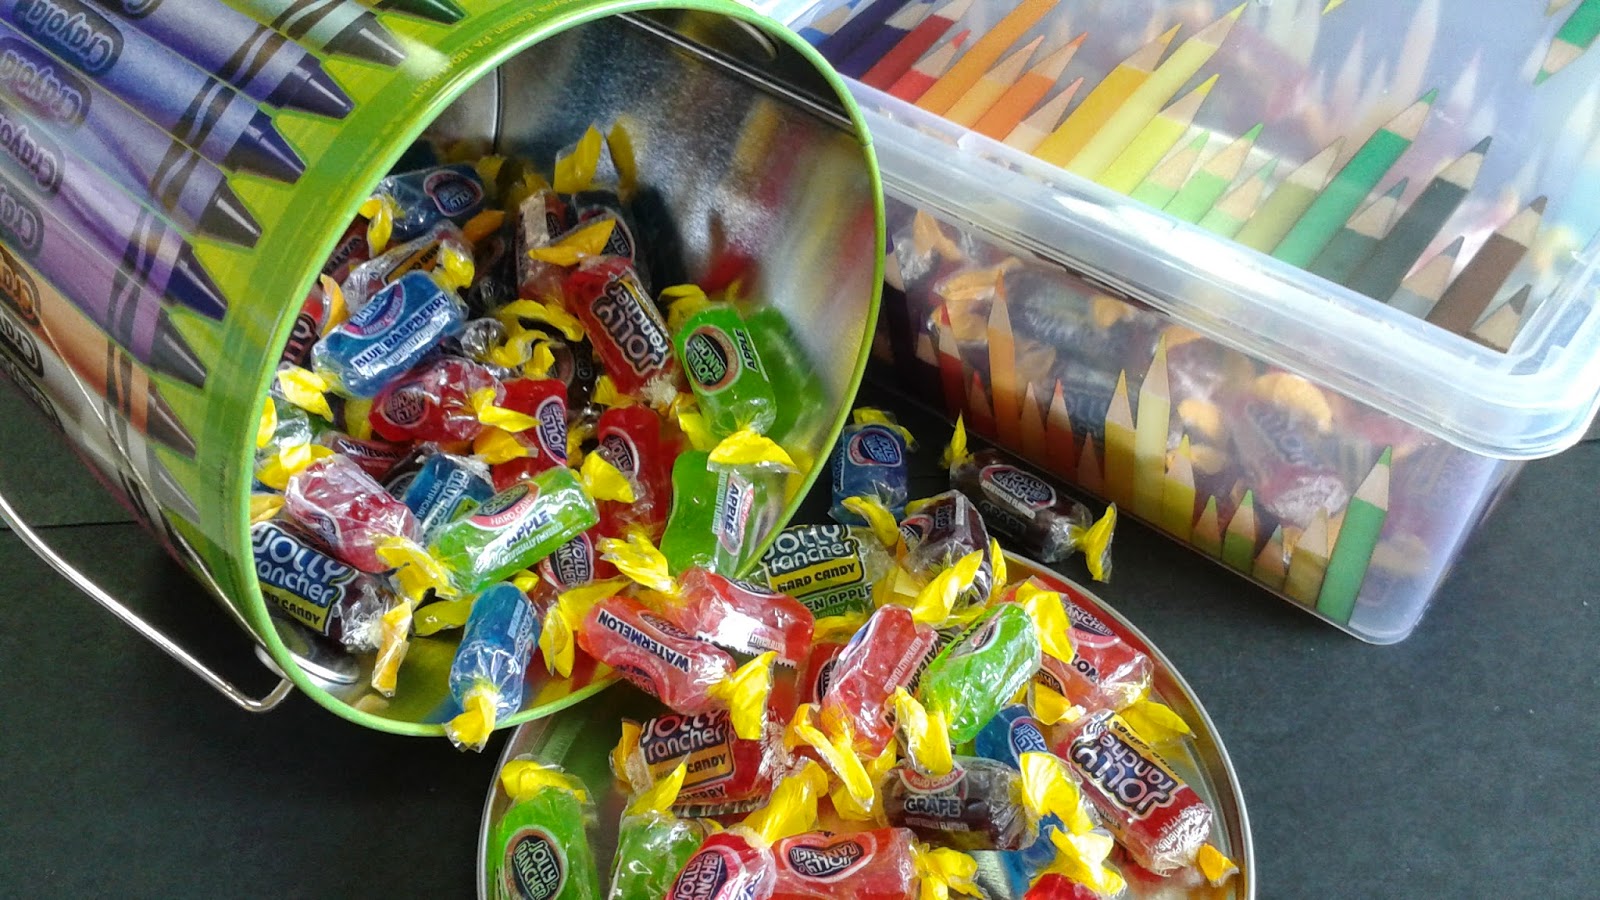
2. Bring some candy to calm, appease, or keep awake the unhappy masses. The most obvious reason for this being that it shows the children you care about them. At the very least, they now know that you empathize with their situation and are trying to help make the best of it. Jolly ranchers seem to be the most popular trail ration in my region. Keep the candy in a brightly colored tin or plastic box to make it a little more fun. This also makes your tasty treats a little less accessible to any non-human standardized wilderness dwellers (aka small rodents and other creepy crawlies) that might want to partake.
If you have a large Muslim or Jewish population, be mindful of their dietary restrictions and find out what treats are halal and/or kosher. As always, be aware of allergy restrictions and make sure that your chosen treat is ok. If you don't know, don't be afraid to ask the kids or their parents. Most are more than willing to help you find something appropriate, especially since you are being sensitive to their child's special needs. Sometimes it is a challenge to find acceptable wild edibles, but trust me- they're out there. I also tend to keep a few sugar-free treats for diabetic students. You never know what you need to account for, so be sure to check in with your school nurse.
3. If your state/district/school allows it, spend a little extra time to prepare multiple folders of assorted coloring sheets and individualized crayon boxes or bins.
Why multiple folders? Two reasons: 1. you don't want to have to run back and forth in a testing room and 2. it limits student temptation to talk/whisper/communicate to each other while passing the folder around.
Why crayons? They don't dry out or need to be sharpened. Using crayons prevents excess noise, mess, and/or movement issues during testing. I purchased this wonderful, super portable tower-o-crayons from a big box store a few years back. The drawers snap into place when you put them back in and all of the plastic is super sturdy! Thirteen drawers of crayons and one no-spill, removable crayon sharpener that can be converted into a fourteenth crayon drawer if desired. If you can't find something similar to this, small food storage containers or snack-sized resealable bags work well too. This could prove to be an invaluable wilderness companion.
There you have it, my comprehensive standardized wilderness survival guide. I hope some of these ideas will help to make the trek an easy one for you and your students. Remember: not every survival situation has a perfect solution, but I've found that this basic survival kit is a good starting point and will help get you out of the wilderness relatively unscathed. You never know, you may become your school's Bear Grylls, or better yet Lewis and Clark!
What have you seen (or done) during testing that made a
positive impact on someone
else's experience that day?
Please share in the comments below!