Showing posts with label streamline. Show all posts

Thursday, April 14, 2016

DIY: Binder Privacy Dividers

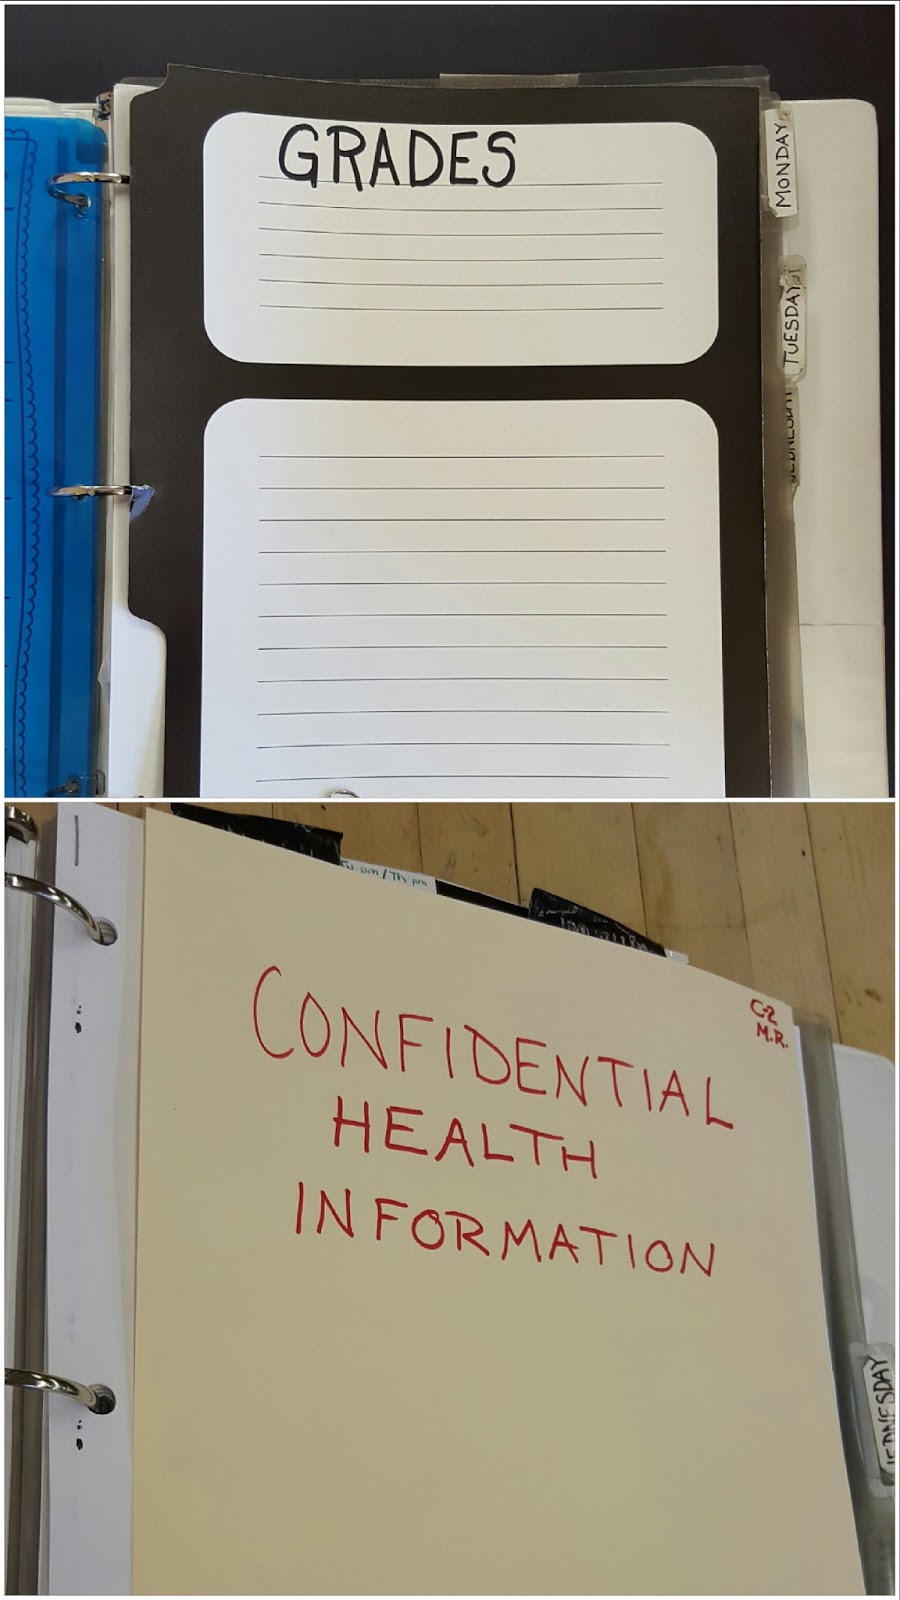
This trick works really well for
IEP's, health info and grades!
by Elizabeth Van Allen  for scribblesbyartteachervanallen.blogspot.com

When I figured out this easy trick to keep binder sections private I honestly face-palmed.  Maybe it's obvious to others, but to me this was a revelation.  You'll never have to worry about accidentally sharing the confidential information in your binder again!

The Issue: I'm obligated to have confidential information like emergency plans for student seizures immediately accessible, but they also must stay private. 

The Solution: Use a file folder to create an easy-access privacy divider!

Quick & Easy Directions:


1. Get a standard-sized file folder. 


2. Open the folder.  Cut off the tab on one edge.  Trim approximately 1/2" or 1.5cm from the opposite edge (the area with the tab cut-away). The 2 halves of the folder should NOT be equal.

3. 3-hole punch the wider half of your folder.  Make sure that you center the punch along the edge, folders are taller than standard paper.

4. Insert the folder hole-punched side down in your binder so that it opens backwards.  Unfold your new privacy divider, insert confidential info into the binder, and close the folder over your documents (scroll up to the first picture to see two finished product).  The privacy divider can easily be kept closed using a paper clip or two!


What easy ways have you found to solve your everyday organizational problems?


Share with us by leaving a comment!

If you liked this organizational tip, 
check out my ideas on labeling systemsorganizing paperwork, and favorite problem-solving items!

Thursday, March 24, 2016

Prepare for Art Teachering Success!

by Elizabeth Van Allen for scribblesbyartteachervanallen.blogspot.com

Being a good teacher is hard work, but being a successful teacher takes some serious trial-and-error.  As a gift to other art teachers out there, I'd like to share ten tips and hard-learned lessons I've learned that make my everyday teacherin' life a little bit easier.  Everyone makes mistakes (see #10), but in sharing my experiences I hope to help other teachers enjoy more moments of success and better preservation of their sanity.
Preparing to Succeed
An Art Teacher's Guide

My grab-and-go kit: Rory's Story Cubes,
color & shape bingo, Beautiful Oops, paper,
instructions for simple book making projects,
crayons, colored pencils, and coloring pages.
1. Have a grab-and-go class coverage kit ready at all times
When another teacher's parent conference or last-minute absence happens during your prep period, you might get called on to cover their class.  Getting advance notice of a coverage is often a luxury, so prepare yourself with activities that are suitable for a variety of ages and are easy to modify!

2. Always leave your classroom sub-ready
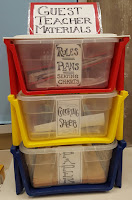
You never know what is going to happen after you exit school for the day, so make sure that nothing is left to chance.  Lock up things that are not for students, have sub plans easily accessible, and make sure the room is tidy.

3. Streamline your paperwork
I like to have frequently used data at my fingertips.  Behavioral notes & attendance are on my seating chart, and contact info & grades are on a roster sheet.  The pages face each other in my binder for easy access.
4. Find an organizational system that is easy to maintain, then stick with it
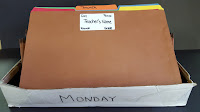
Have easy-to-understand systems for organizing student work, paperwork, and student procedures. Being disorganized in an art room is like trying to clean up a gallon of paint with one paper towel.  It might work eventually, but you'll have a heck of a mess on your hands!

5. Keep guidelines clear and simple
When you clearly post simple rules and procedures, you eliminate confusion and frustration for you and your students!
6. If a student can do something, let them
There is no reason to clutter your mind with project distribution when you are tasked with facilitating the education of 30+ students while also keeping them safe.  Use your first few classes to teach and reinforce classroom rules adn procedures, then hold them accountable.  Make your classroom a more student-driven educational environment while keeping your eyes and ears open for teachable moments and potential issues!

7. Common sense is not the same for everyone
Positively worded rules get better results!
Dictionary.com defines common sense as sound practical judgment that is independent of specialized knowledge, training, or the like; normal native intelligence.  Remember: sound and practical looks very different to an adult from the suburbs than it does to child from the inner city. 
8. Become indispensable

When school and district budgets get tight, art education is one of the first areas to get cut.  This is often due to the perceived expense of running a quality program.  Make yourself an important part of your school's culture and a valued member of the school community by volunteering for initiatives and building committees.  Being an intrenched, highly visible, and POSITIVE influence makes keeping you in your position a higher priority.
My art advocacy bulletin board 
features Eisner, Gardner, and 
tons of art-based career choices!
9. Be an informed advocate
Advocating for your subject, program, and students makes you a force for positive change.  Gandhi is often quoted as having said "Be the change you wish to see in world." Show, tell, and demonstrate why and how art is important, but check your facts first.  If you're not sure where to start, try looking up the philosophy research of Elliot Eisner through reading his work or hearing him speak.  You can also print a copy of his 10 lessons the arts teach to post in your classroom!

10. Learn from your mistakes
We all make mistakes, it's part of life.  The biggest mistake that I made during my first few years as an art teacher was taking myself too seriously.  It stunted the development of my relationships with both my students and other adults.  The first few years of teaching is hard enough as it is, I made my own life far more difficult than it should have been by leaving my sense of humor at home.  Recognize when you've made a mistake and take the time you need to reflect.  What went wrong?  How it could be fixed or done better in the future?  Ask for help when you need it and don't forget to celebrate your victories... you earned them!

Bonus tip: Test run every project with the exact same supplies that your students will be using.  It may be a pain in the neck, but troubleshooting your lessons in advance makes for a much smoother and enjoyable classroom experience for everyone!


What would you add to the list?
Share with us by commenting below!

Thursday, January 29, 2015

Winning The Paperwork Game

Apple crates make great shelves. 
by Elizabeth Van Allen 
scribblesbyartteachervanallen.blogspot.com

Work smarter, not harder.  If you teach multiple classes like I do (26 each week, thank you very much), do yourself a favor and streamline all of those required plans and charts into one multi-purpose document.  I finally figured this out during my 8th year of teaching and my daily life miraculously got less complicated.  I now have 10 weeks of attendance, seating, behavior and planning on one double sided sheet of card stock (see pictures below).  My binder stays with me wherever I go.  I have a much better memory for patterns than names, so when I see a student in the hall I usually associate them with the weekday/grade/period/seat that pertains to them.  I flip to the appropriate chart and can address them by name when I greet them.  

Re-think your format and reclaim wasted space.  What's the point in wasting the left half of your open notebook with the back of another form?  Hole punch the sheet you use for grades, phone call logs, or whatever else you need to have close at hand during class on the right side instead of the left.  Insert it face-to-face with the attendance/seating/planning chart and you'll have all the information you need directly in front of you at all times.  Are you a lefty?  Switch sides so that your most frequently used document is on your dominant side.  As you use up both sides of your charts and need fresh ones, put the old ones in another binder for future reference.

I recently attached a wired pen to my binder, now I always have something to write with!

Log breaking news as it happens.  If you're not keeping detailed records on each student you're leaving yourself open for disaster.  That being said, there are only so many hours in the day.  I don't know about you, but I am not devoting my precious class or personal time to writing full sentences about student behaviors.  Develop a system of symbols and/or letters that stand for common behaviors and note them directly next to that student on your seating chart and/or class attendance documents.  

Get out your magnifying glass and look at the bottom of this image.
The information entered in the boxes under seats A & B at each table
refer to the
 date found in the corresponding box at the top left of the form.
Under the weekly planning area is a line with my own codes for attendance and common student behaviors.  I use T for talking (out of turn, way too loud or over instructions), U for up or wandering, WO means that the student walked out of class without permission, is talking back/bad attitude and WS stands for sitting in the wrong seat.  Usually I indicate good behavior with one or more + signs or a word like 'helper'.  NEVER forget to mark down positive behavior, and make sure to tell your students that you do this.  Showing them the +'s next to their names really drives the point home and reinforces your good intentions.

Helful hint:  One slight change that I strongly suggest making in your attendance routine is to substitute a dot for the usual check mark indicating that a student is present and on time.  This small shift reduces your visual clutter and makes it less confusing if you ever use a -/checkmark/+ system for homework or classwork.  

Keep records of all calls to one parent in one place.  I was given a document years ago that was invaluable in logging my parent contacts, mostly due to it's simplicity.  To create an effective, streamlined parent contact form I suggest formatting it with a heading of contact information and columns underneath.  I like having 5 columns: one each for a phone call's datetimereason/purposewhether or not the guardian could be reached, and who you spoke to about what. When applicable I use the code LM for left message.  You can fill them out as you need to or have the students write in their own contact info on the first day of school in lieu of a 3x5 card. 

Security note:  I often call parents from my classroom on my cell phone using *67 to block my personal contact information.  This keeps students honest by not giving them the option to get my number from an adult's phone.  It also keeps me from getting after hours calls Each student number is labeled as Parent-FirstnameLastname in my contact list.   To find a parent contact, all I have to do now is go to the 'P' section and scroll down to the student's name.  
A big thank you to Ginna D'Alba- starting the name with 'parent' was her idea!

Bonus Tip: Once you have forms that really work for you, keep the originals all together in one place.  I have a 'Necessary Forms etc.' binder that I go to several times a year.  Inside I keep a copy of every log, chart, form, and evaluation/rubric that I use.  I always have my most current welcome letters and first-day-of-school plans, and there is a section in the back for invaluable and pertinent info that I don't want to lose.  I also include office papers that never seem to be there when you need them like fax cover sheets and maintenance request forms.  I often write the word original across the top in yellow highlighter because it doesn't show up in black and white photocopies and ensures that you won't use the form accidentally.  


How have you streamlined or simplified your frequently used files for the sake of sanity?